Businesses and organizations use newsletters to convey relevant information with their network of customers, prospects, and subscribers. Newsletters allow you to send compelling material, encourage sales, and drive traffic to your website directly to your audience’s mailbox. To obtain the best results, it is recommended to customize your newsletter to reach the right people.
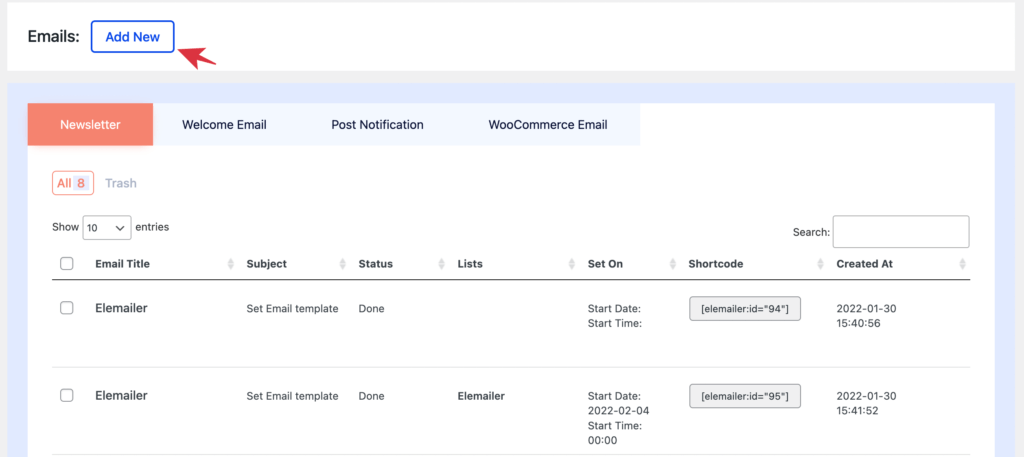
Head over to wp-admin> Elemailer > Emails

- Click on Add New tab
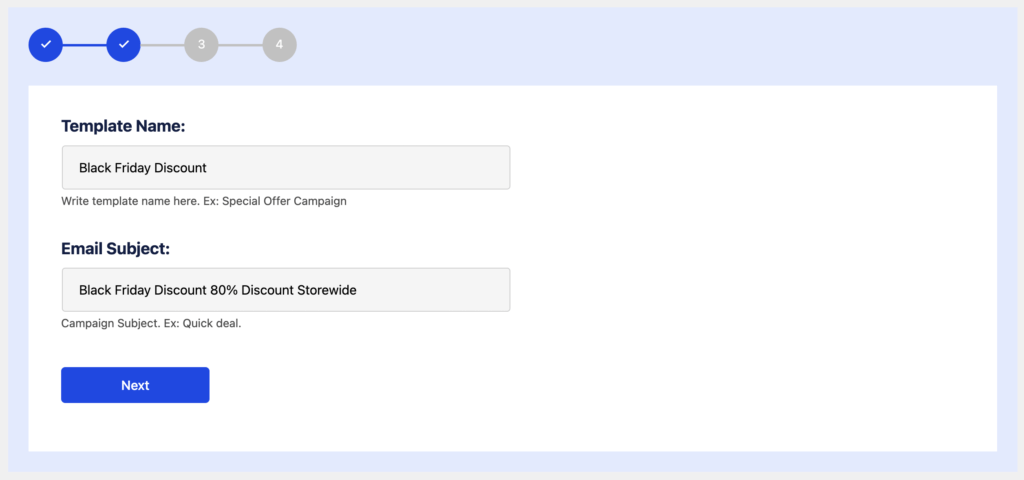
- Write a Template Name. Example: Black Friday Discount
- After that add an Email Subject. Example: Black Friday Discount 80% Discount Storewide
- Click on Next
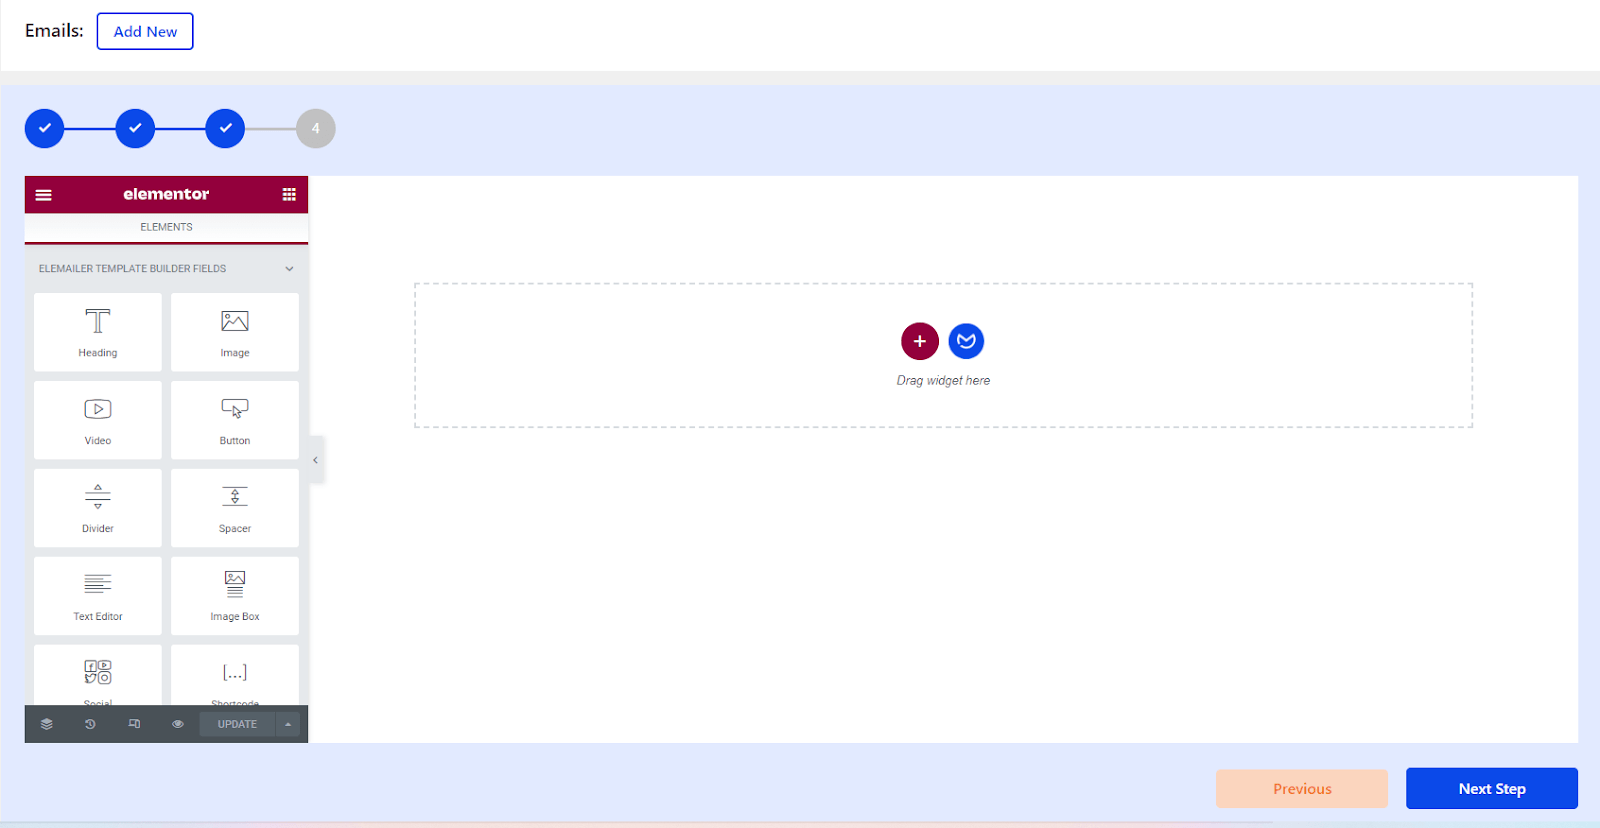
- New page will open that will include Elemailer Template Builder Fields
- You will find several widgets that you can select. Just Drag it on the white space
- Move on to Next Step
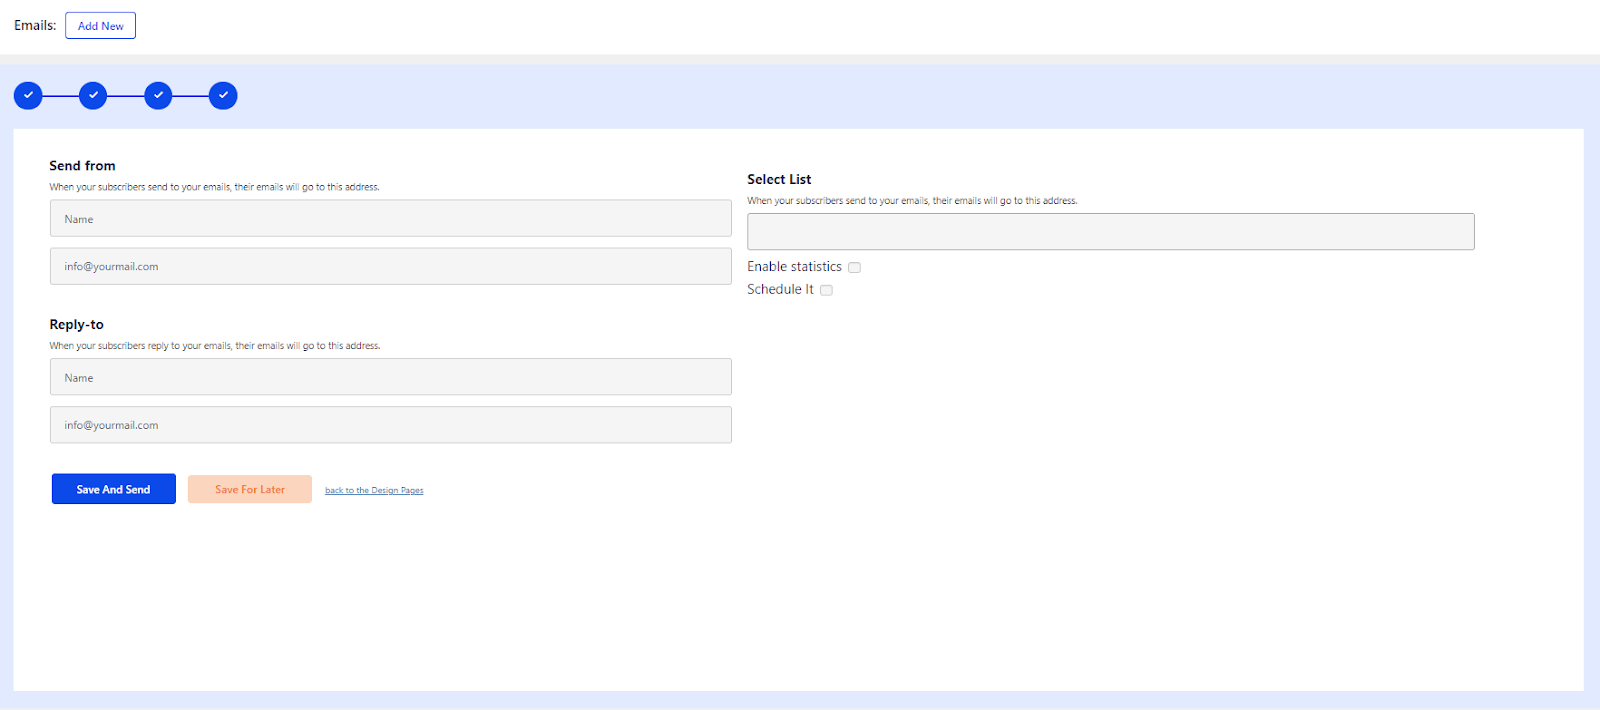
- In the Send From section: Fill the Name and Email Address. When your subscribers send you an email; their emails will go to this address.
- In the Reply-to section: Fill the Name and Email Address. When your subscribers reply to your email; their emails will go to this address.
- In the Select List section: Add an Email Address. When your subscribers send to your emails; their emails will go to this address.
- If you want to Enable Statistics and Schedule it. Accordingly you can tick or untick it.
Example:
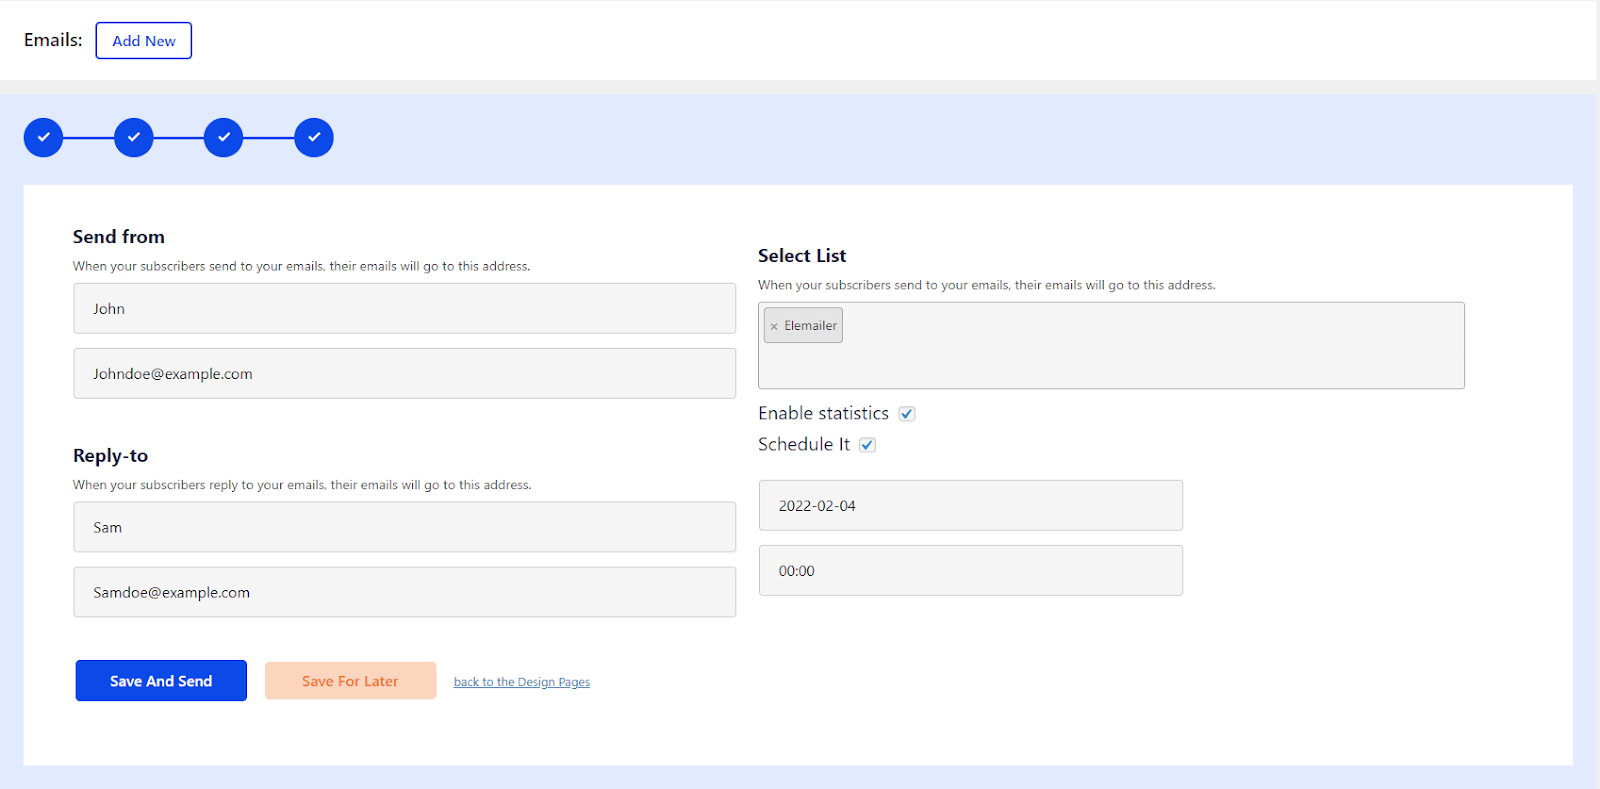
Click either Save and send or Save for later or go back to design to edit something.


