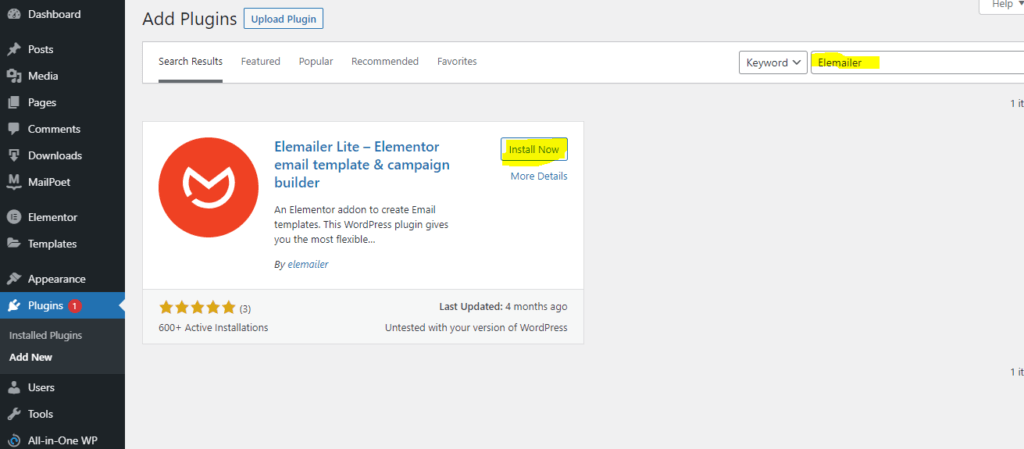
You decided you want to design your emails with Elemailer. Great, let’s get started. The first step is to install the plugin. If you are using the Free version of our plugin it’s called Elemailer Lite which can be found on WordPress.org
Elemailer Lite Installation: #
Elemailer Lite needs the Elementor ( Free ) plugin to work. So, the First thing you need to visit is the Plugins » Add New page inside your WordPress admin area. Install Elementor & Elemailer from here on your WordPress site.
If you have one of the pro plans you need to skip this step and move to the next step below.

Elemailer ( Pro ) installation : #
Congratulations on Purchasing Elemailer. Welcome to the Elemailer Family 🙂
We assume you already have Elementor Installed and Activated. Now to install the plugin follow the below steps:
- Head on to your account page on our site
- Click My Purchase tab after logging into your account
- Go to View Details & Download > Here if you scroll down you will find: Products named area
- Now, you should see the name – Elemailer > Clicking on it will download the zip file required to install.
- You should also see the License Keys part on this same page where your related license will appear. We will need it after installing the plugin.
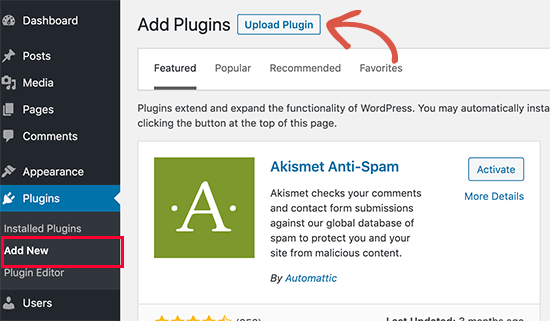
- Now head on to your WordPress site where you want to install Elemailer > Now Go to Plugins > Add new > Upload A plugin > Upload the downloaded zip from our site > Install and Activate it.


